Manual
1Getting started
From a screenshot to a finished mockup.
Make your first mockup
SMPRO opens in Single, the simple screen that puts one screenshot into one device.
Tap Set Photo and choose a screenshot or a video.
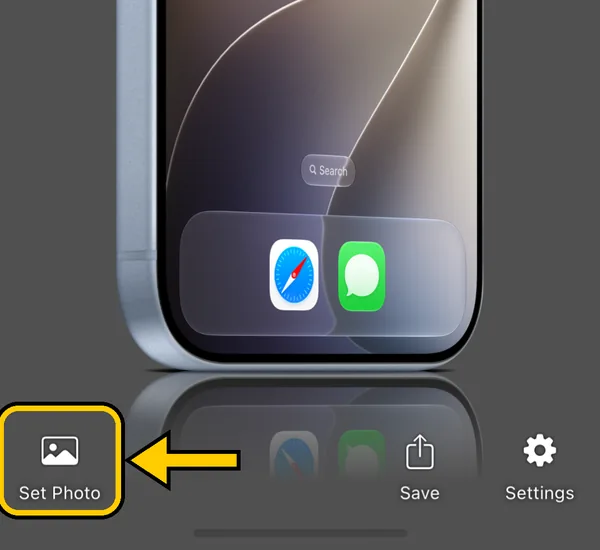
The screenshot appears in the device. To change the device, see “Choose a device” below.
Tap Save. Choose “Save Image” (or another app) in the share sheet.
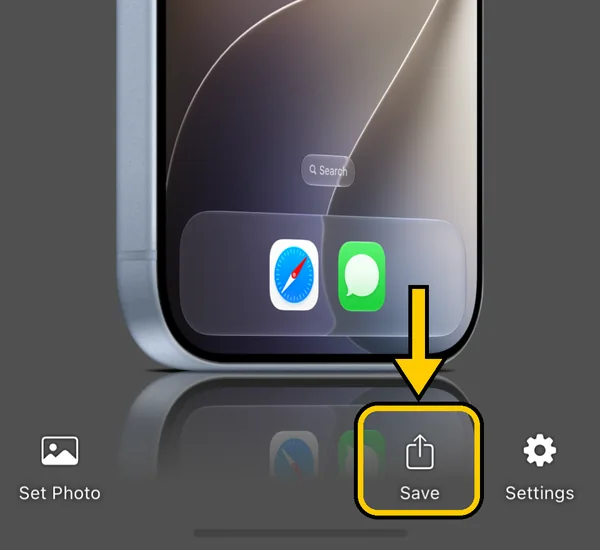
Without a purchase you can save 3 images a day. To save more, see “Purchases”.
Choose a device
Open Settings and tap Mockup.
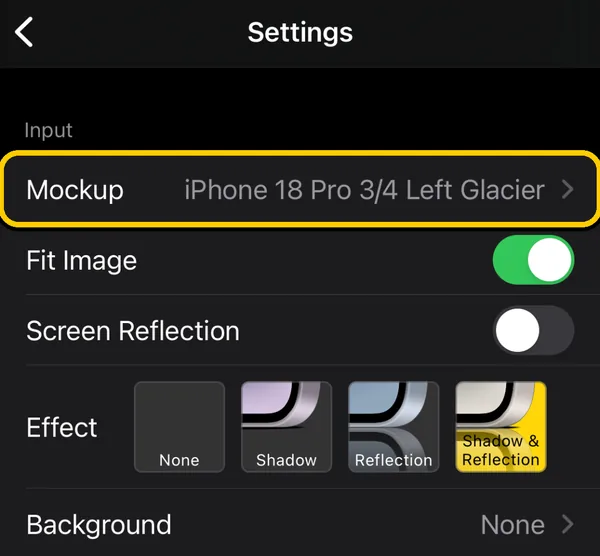
Choose a device, then an angle and a color.
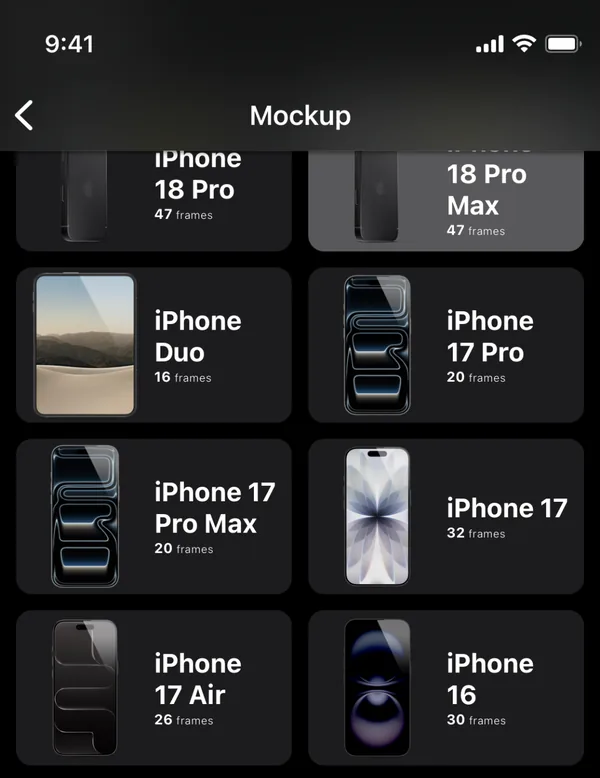
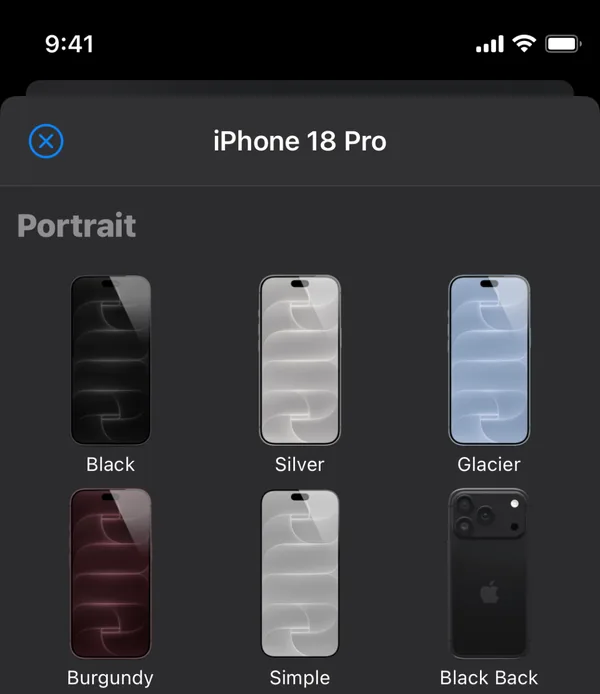
Devices that show Download Required are downloaded the first time you use them.
Downloaded devices can be removed in Settings › Download Manager.
Every device in SMPRO is listed on the Devices page.
2Make it look right
Background, shadows and the position of the device.
Background
Open Settings › Background. You can choose your own picture (User Image), a plain color such as White, Black or Transparent, or one of the ready-made backgrounds.
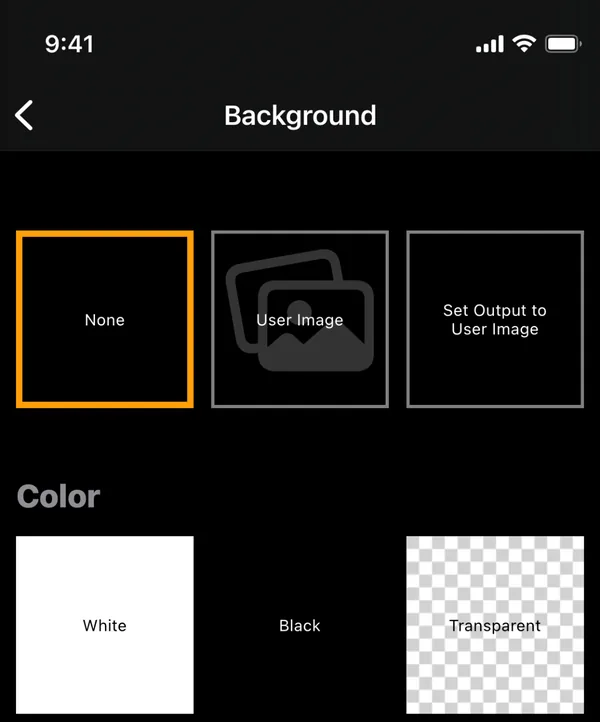
With Transparent, the image is saved as a PNG with a transparent background.
Shadow and reflection
In Settings, choose an Effect, such as Shadow, Reflection or Shadow & Reflection. The choices depend on the device. Then adjust it under Shadow or Reflection in the Adjust section.
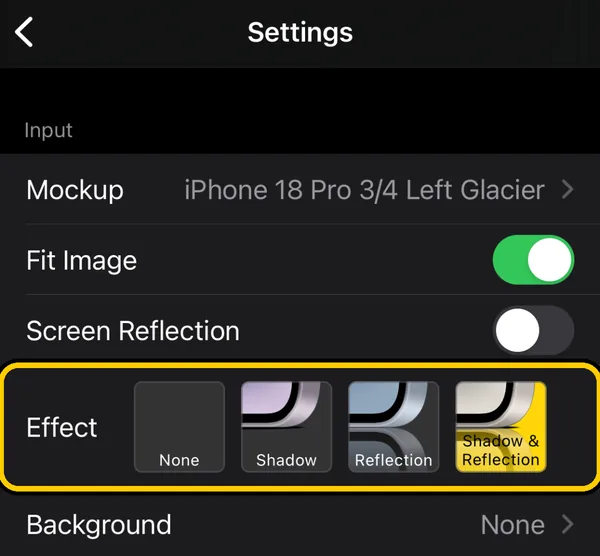
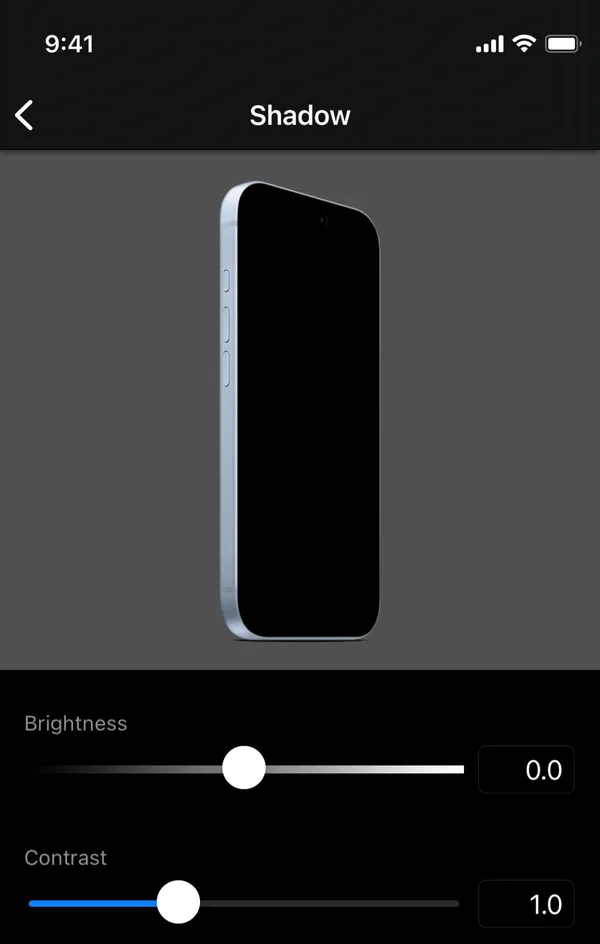
Screen Reflection adds a light reflection on the screen glass. Fit Image fits your screenshot to the screen.
Size, position and rotation
Open Settings › Position. Here you set the size of the saved image (width and height), and move, turn and resize the device and the background.
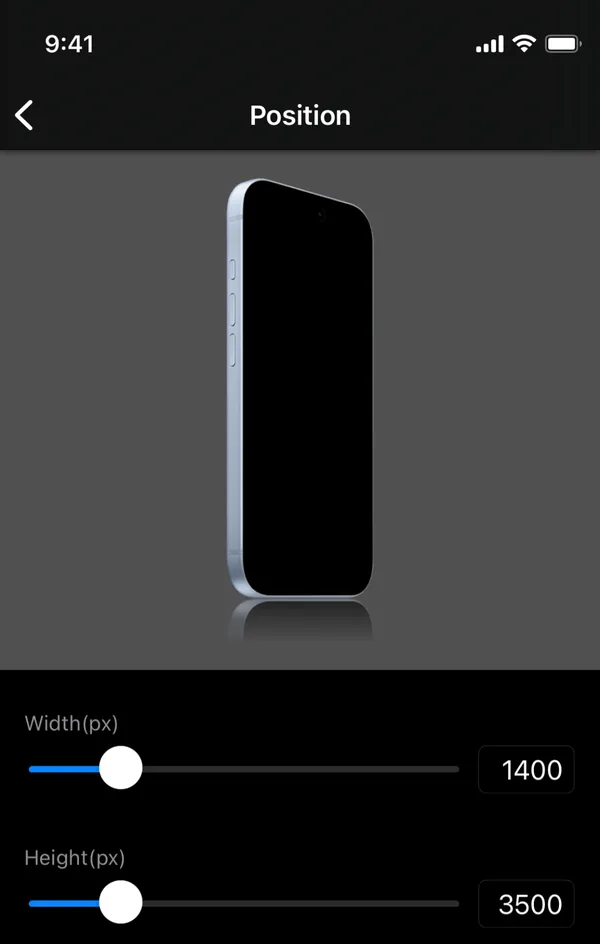
Simple frame
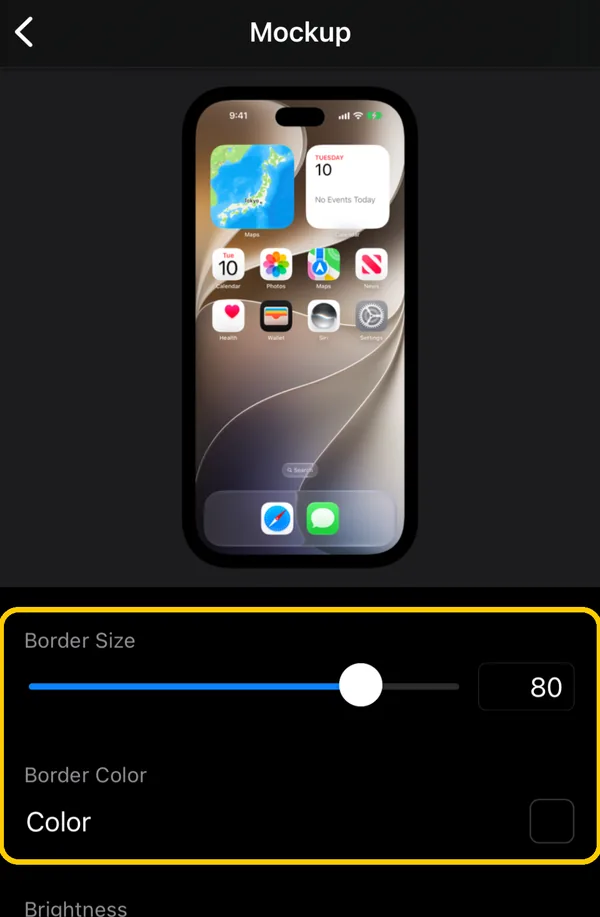
Simple is a plain, rounded frame instead of a realistic device. Choose a Simple angle in the device list, then open Settings › Mockup (in the Adjust section) to change Border Size and Border Color.
3Videos and Motion
Mockups that move.
Put in a video
Tap Set Photo and choose a video. SMPRO then saves a video instead of an image, with the sound of your video.
The FAQ explains the video format in detail.
Motion mockups
Motion devices sway or turn around on their own. Choose a Motion angle in the device list. To change how it moves, open Settings › Motion.
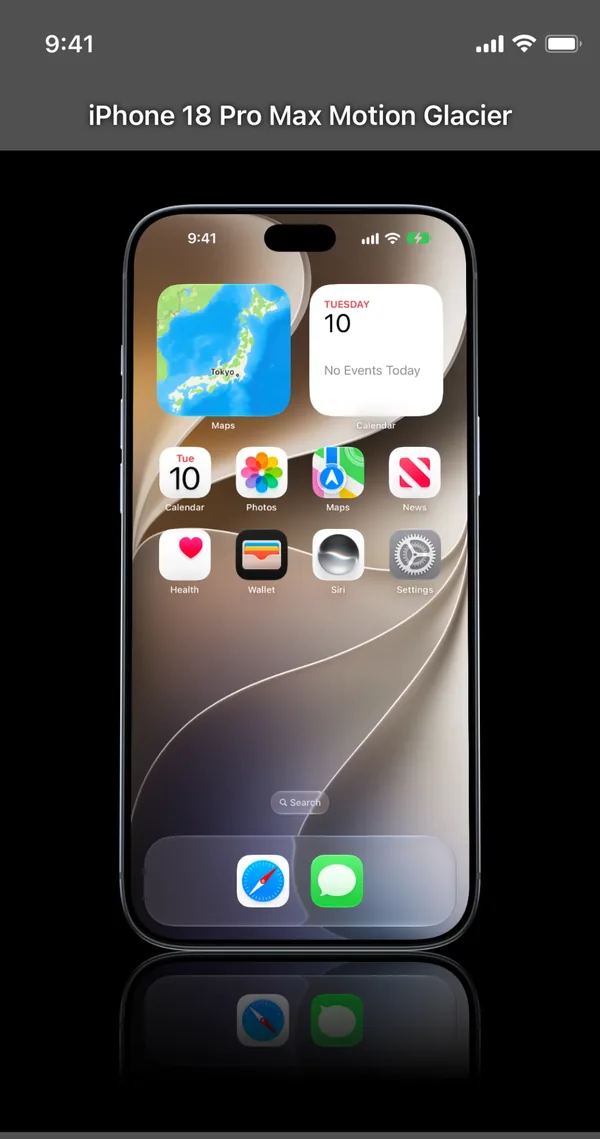
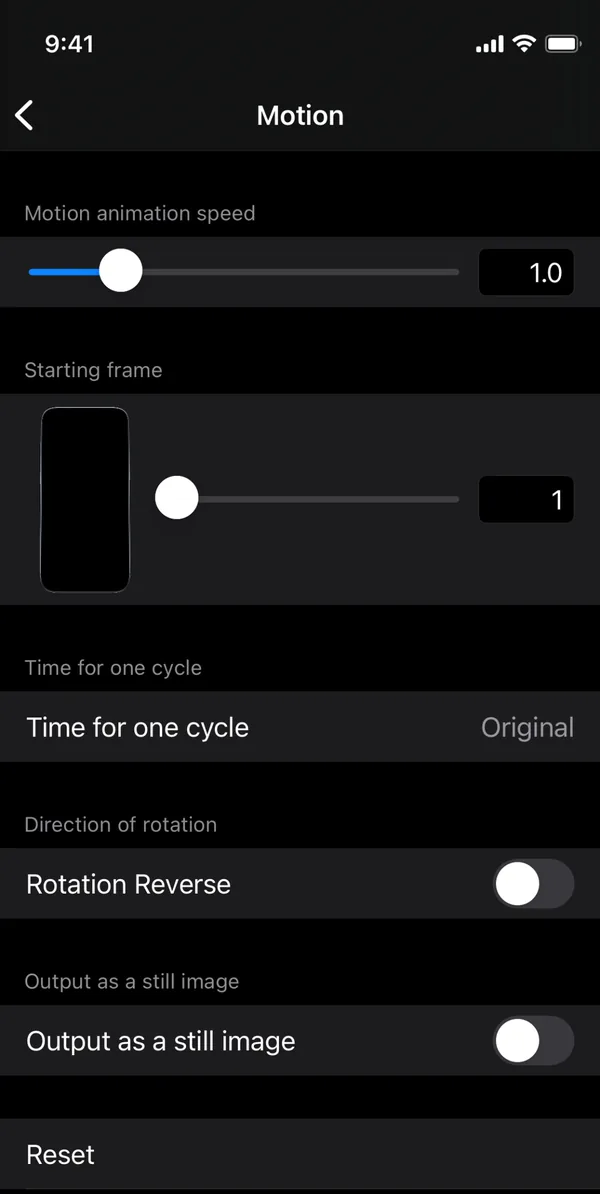
A Motion mockup is saved as a video, even with a still screenshot. To save one still frame instead, turn on Output as a still image in the same screen.
Video export settings
In Settings › Advanced:
- Use H265 Codec: smaller files, and transparent backgrounds. H264 (off) plays almost anywhere.
- Render Movies with GPU: much faster export. Keep it on.
- Video Loop: repeat the whole video a number of times.
4Multi UI
Lay out several devices, pictures and text freely.
Switch to Multi
Open Settings and tap Switch to Multi UI. To go back, tap Switch to Single UI in Multi’s settings.
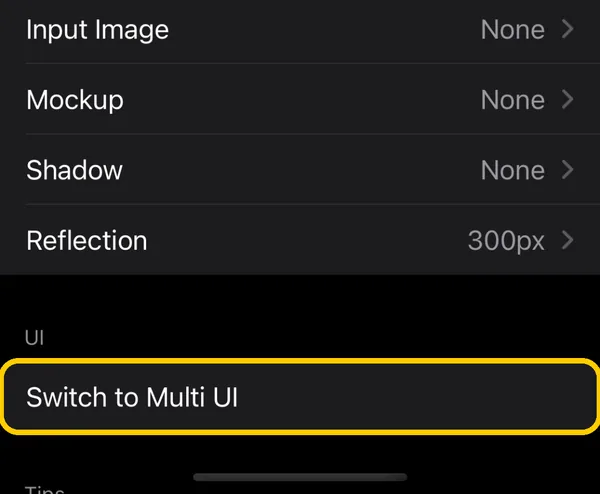
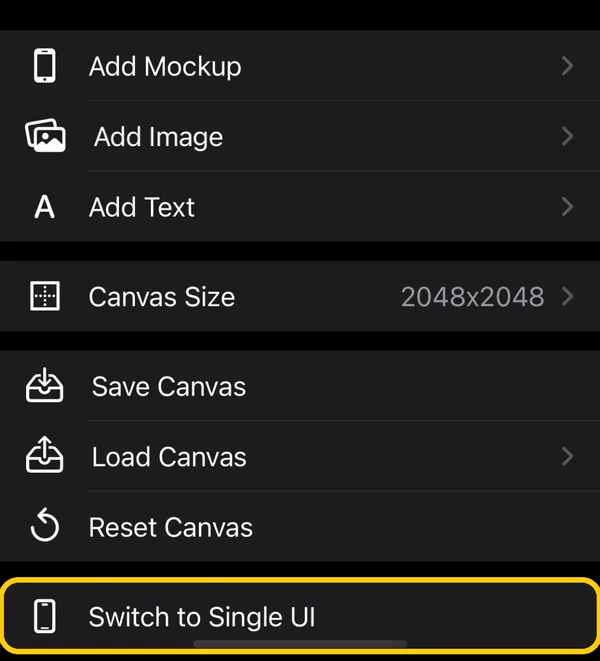
In Settings › Advanced you can choose which one opens when the app starts.
Basic steps
Multi starts with two devices on a transparent canvas. To come back to this start, tap Reset Canvas in Multi’s Settings.
Tap Set Photos and choose screenshots for the devices.
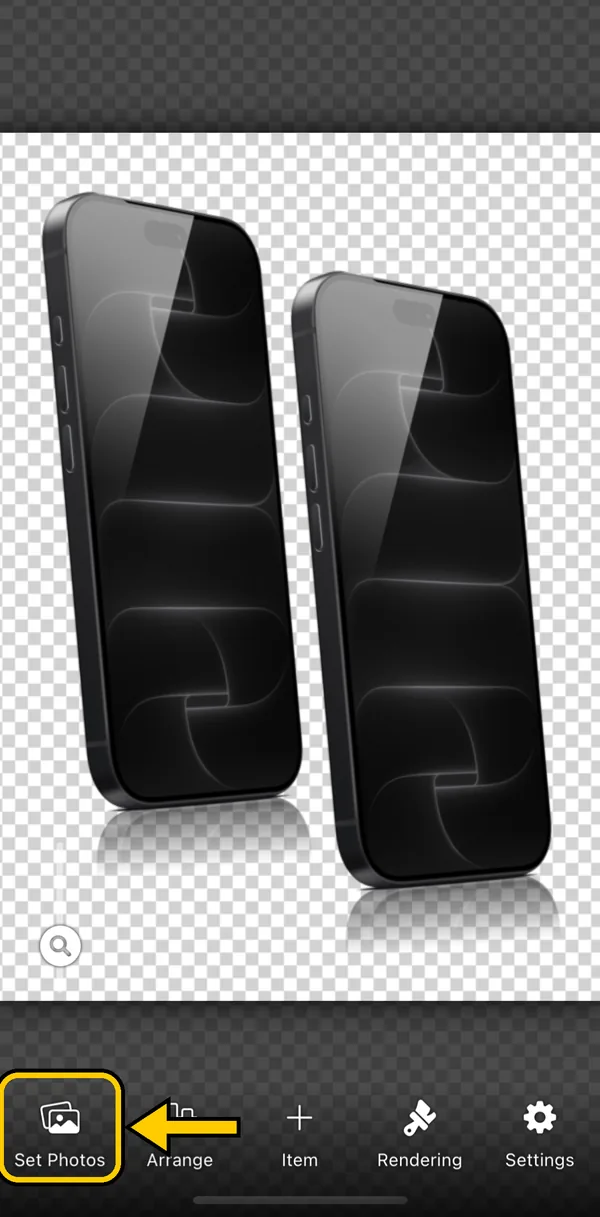
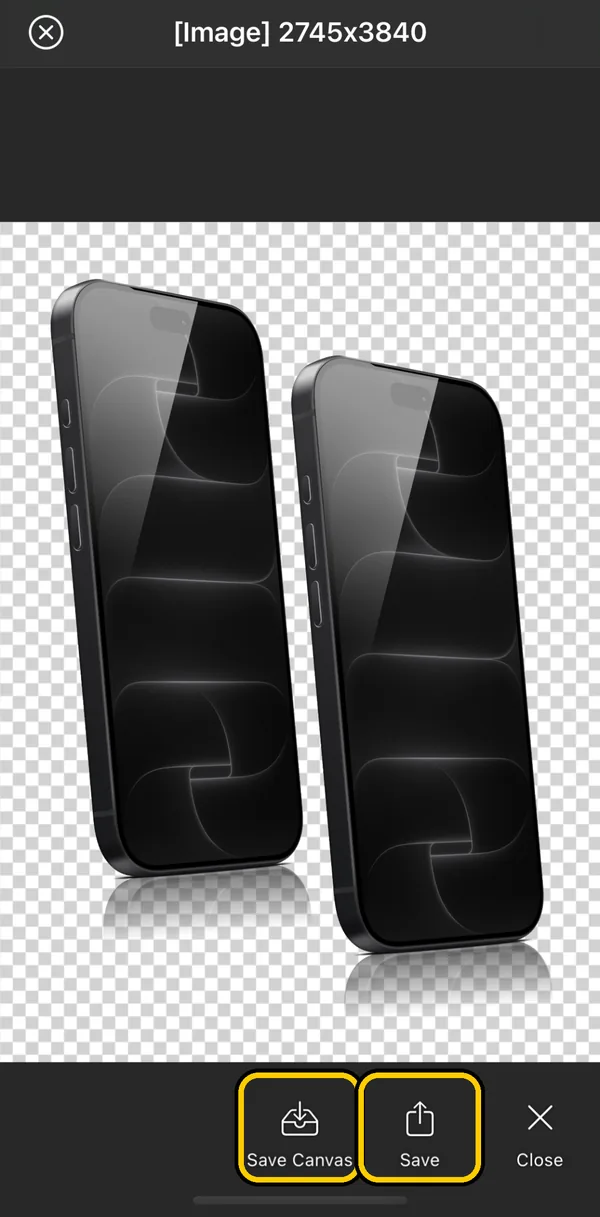
Tap Rendering to see the finished image.
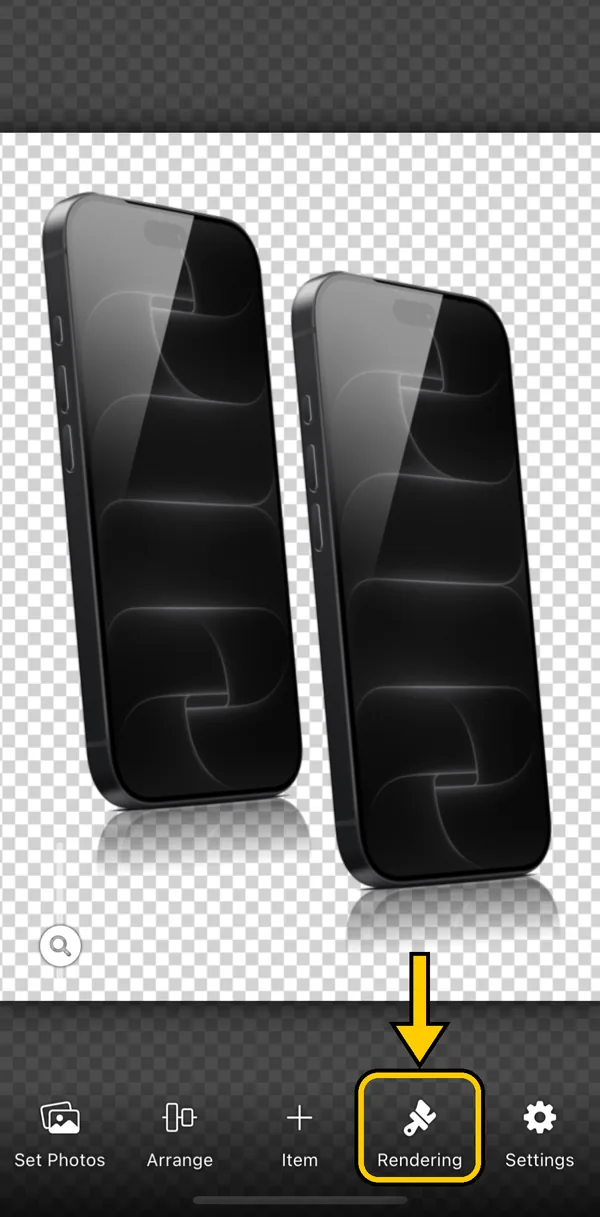
Tap Save to save it. Save Canvas keeps the layout so you can use it again.
Add devices, pictures and text
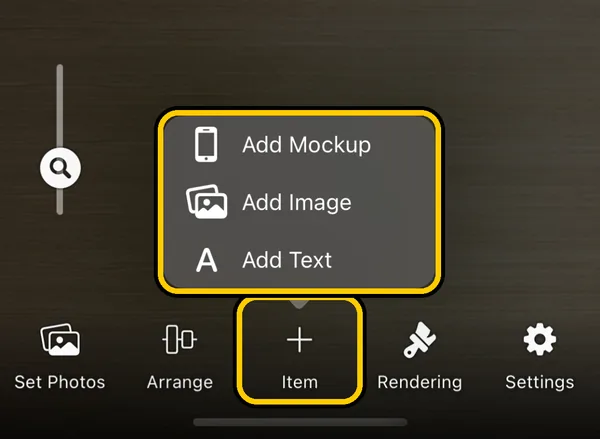
Tap Item (+) at the bottom and choose Add Mockup, Add Image or Add Text.
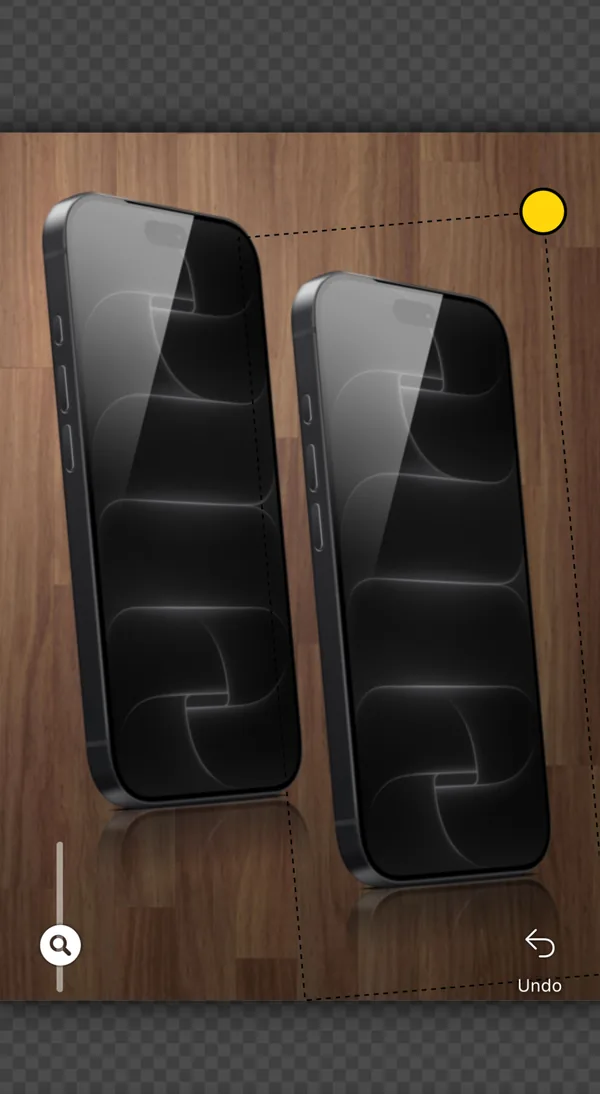
Tap an item to select it. Drag it to move it, and drag the yellow circle to resize and turn it.
Use a picture as the background
Tap Item › Add Image and choose a picture. User Image lets you use your own.
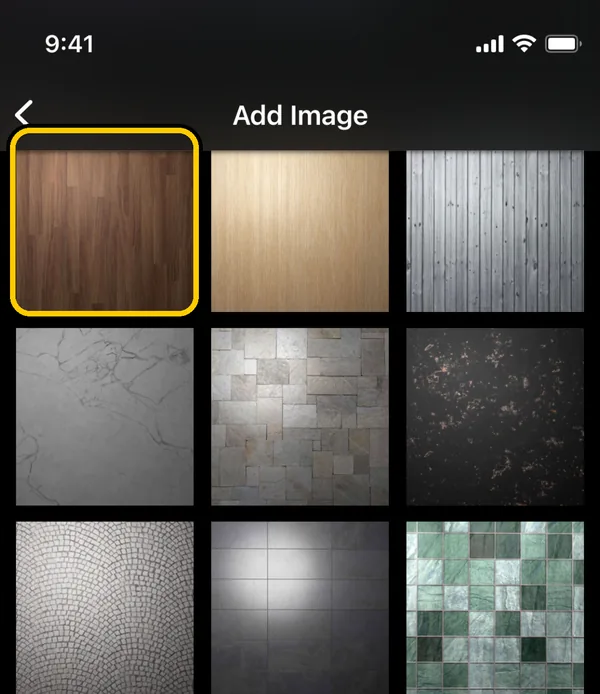
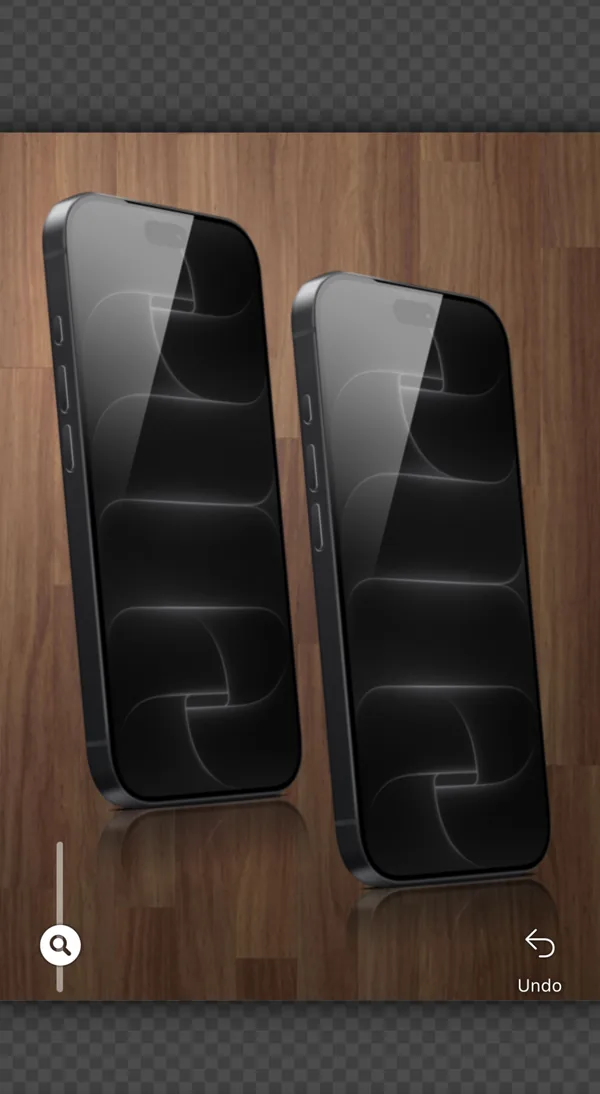
The picture goes behind the devices and fills the canvas.
The item menu
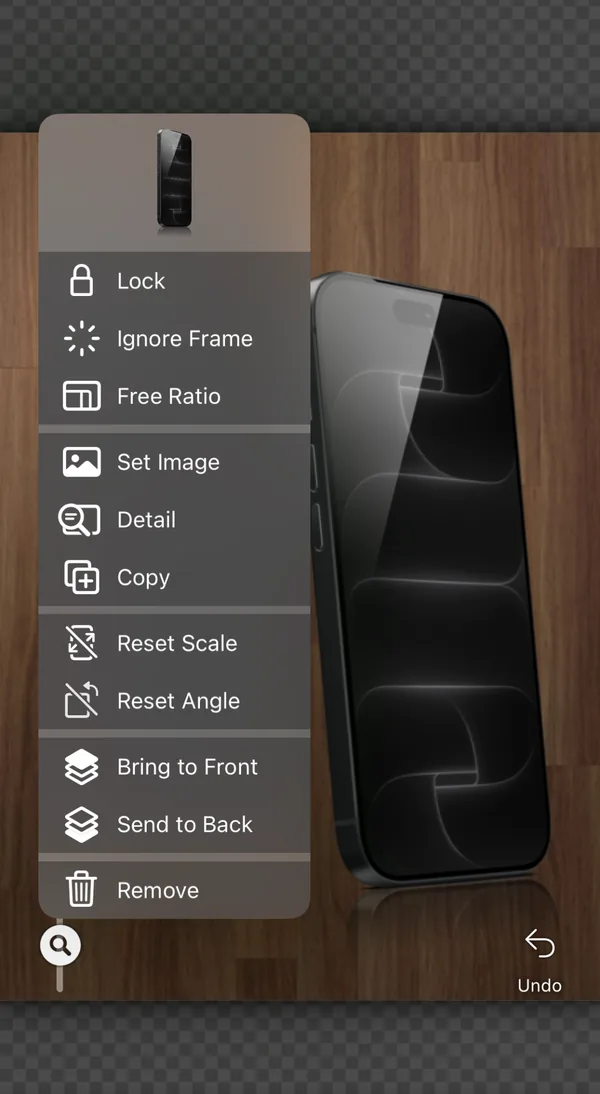
Touch and hold an item (right-click on Mac) to open its menu.
- Lock: the item can no longer be moved by mistake.
- Ignore Frame: the item is left out when the canvas size is worked out (see below). Pictures added as a background have this on. Include Frame turns it off.
- Free Ratio: change the width and height separately.
- Set Image: change only the screenshot in this device.
- Detail: all the settings of the item.
- Reset Scale / Reset Angle: back to the original size or angle.
- Bring to Front / Send to Back: change the order of the layers.
- Copy / Remove
Canvas size
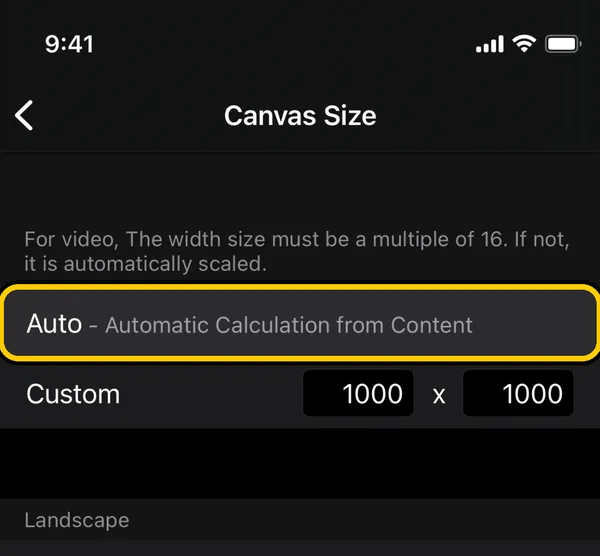
Open Settings › Canvas Size. With Auto, the canvas becomes just big enough for all the items, except those with Ignore Frame. You can also choose a fixed size, such as an App Store size.
Save a canvas and use themes
Save Canvas keeps your layout so you can open it again later. Load Canvas opens your saved canvases and the themes that come with SMPRO.
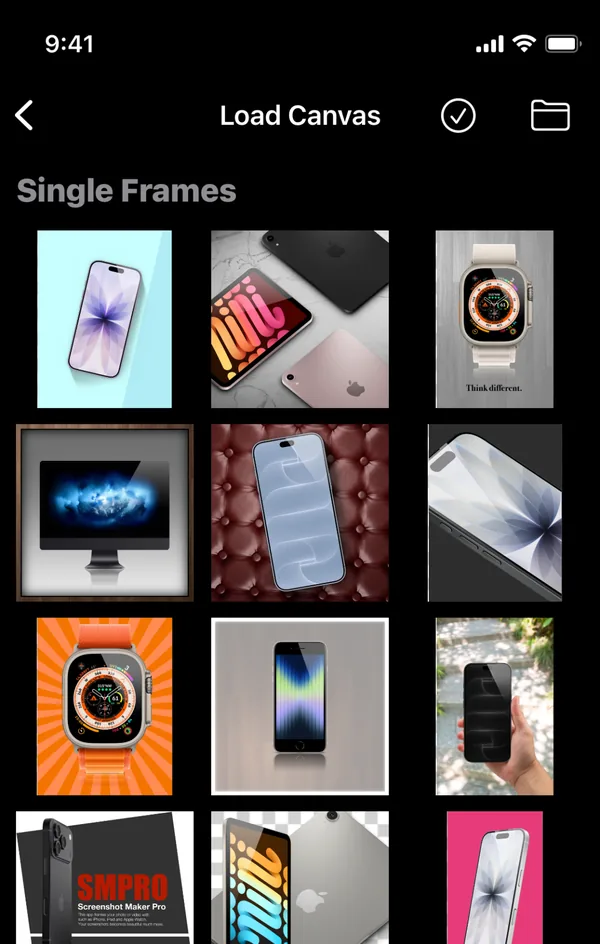
To use a canvas as a template, open it and change only the screenshots with Set Image in the item menu.
Touch and hold a saved canvas to delete it. Saved canvases are also in the SMPRO folder of the Files app, so you can move them to another device.
Placing many items
The number of items you can place depends on Settings › Advanced › Memory Usage. It is set automatically for your device. To place many items, set it higher yourself.
5More
Use it on Mac
SMPRO runs on Macs with Apple silicon (M1 or later). It is the iPad version of the app. You can drop pictures onto the window.
Purchases
There are two kinds of purchases, in Settings › Register:
- Unlimited Daily Saving: save more than 3 images a day.
- Mockup add-ons: save the paid mockups without watching an ad.
On another device with the same Apple ID, tap Restore in the same screen.